April 23 2020 by
Admin
In this article, we will explore creating an Angular application using Visual Studio Code with an example and a sample code.
In this article, we will explore creating an Angular application using Visual Studio Code with an example and a sample code.
Visual Studio Code is a lightweight but powerful source code editor.
It is a fully open-source and cross-platform framework available on Windows, Linux, and Mac.
You can download Visual Studio code
Click here for your platform (Windows, macOS, and Linux)
We need to install for this tutorial
1. Visual Studio Code
2. Node.js
Step -1
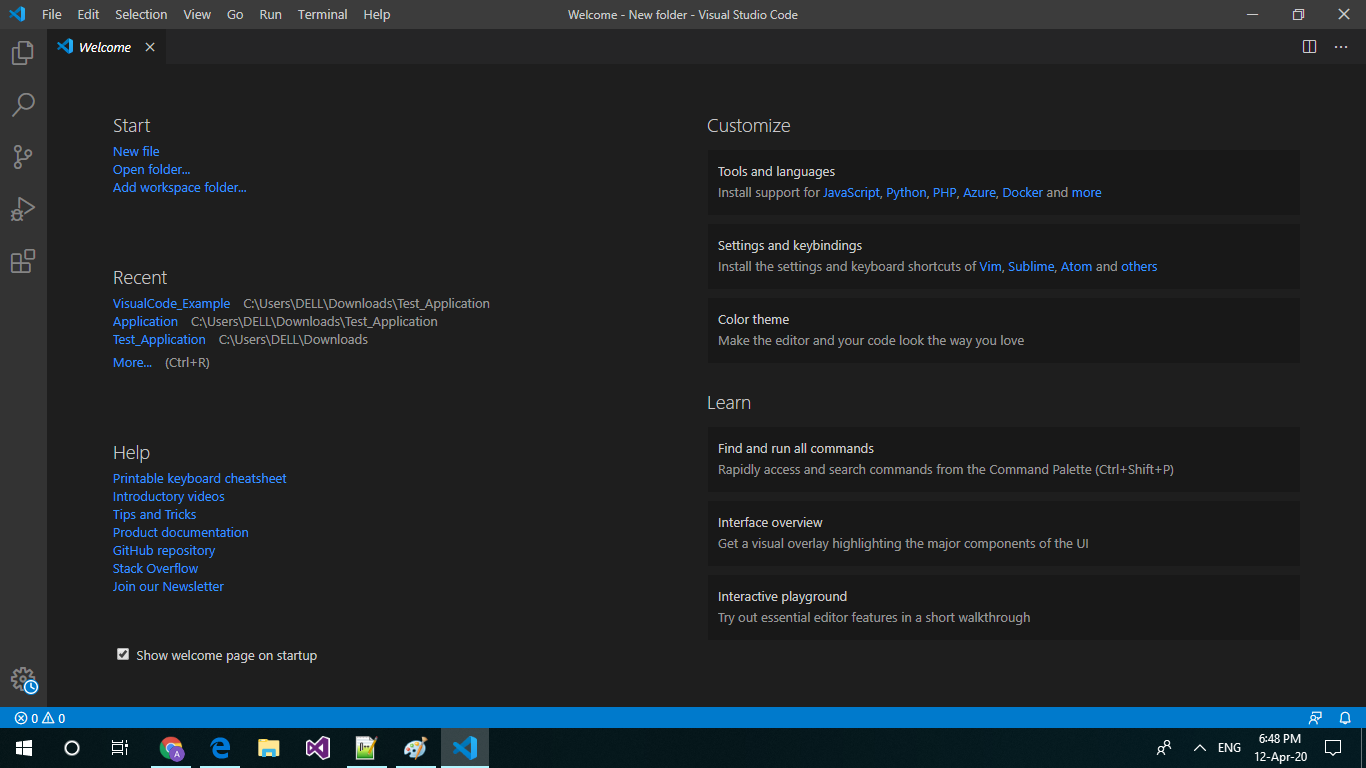
Open Visual Studio Code.
Step -2
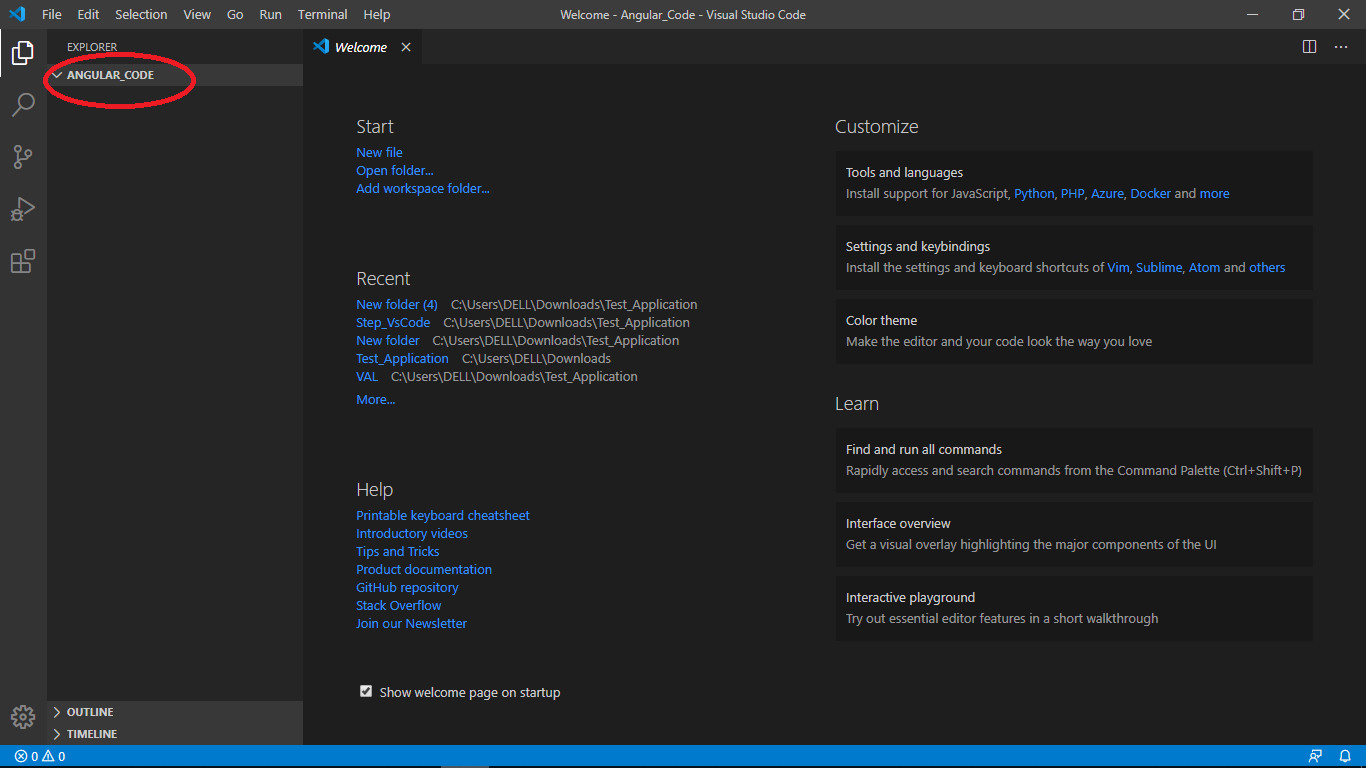
Click on the file in the menu and select Open Folder. We are creating a folder for project(Angular_code) and select created folder name.
Step -3
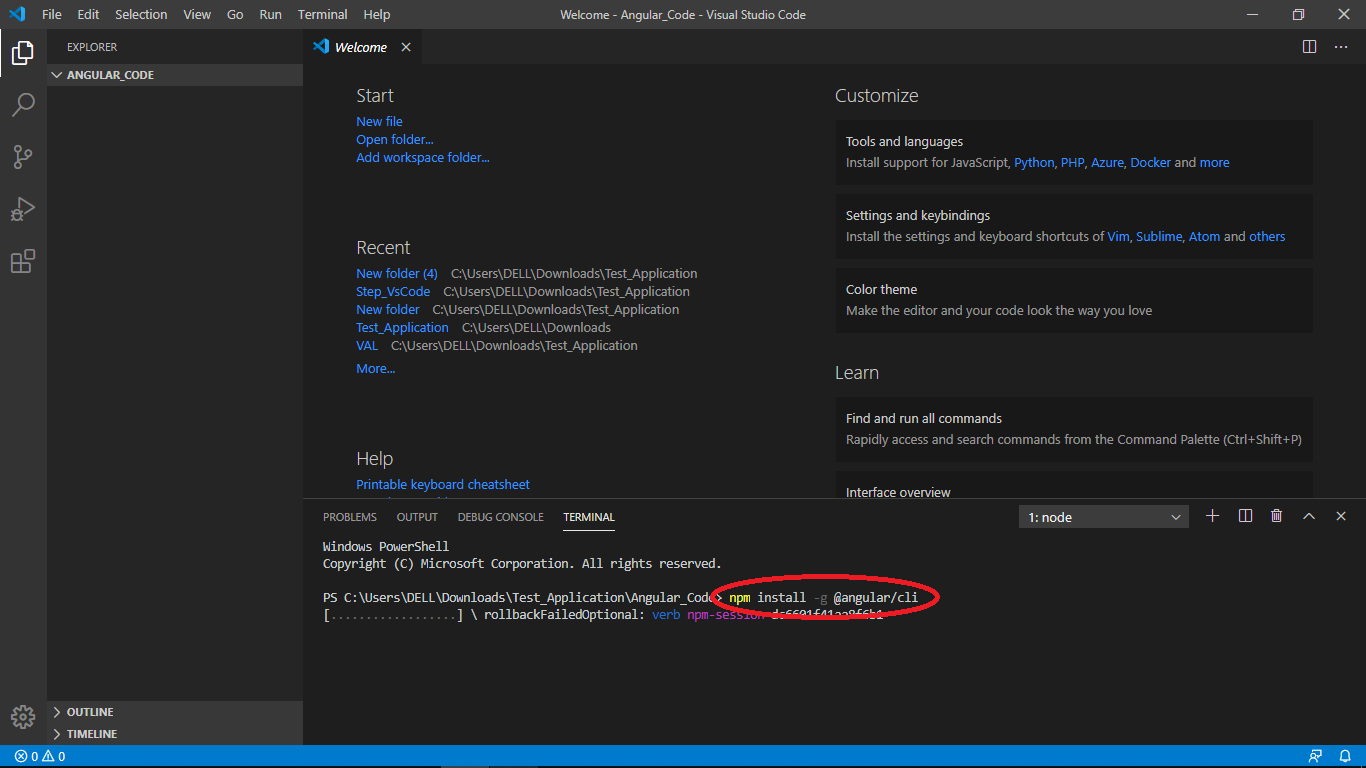
Go to Terminal and Select New Terminal in the menu.
In the terminal window, type npm install -g @angular/cli for Install Angular CLI.
Step -4
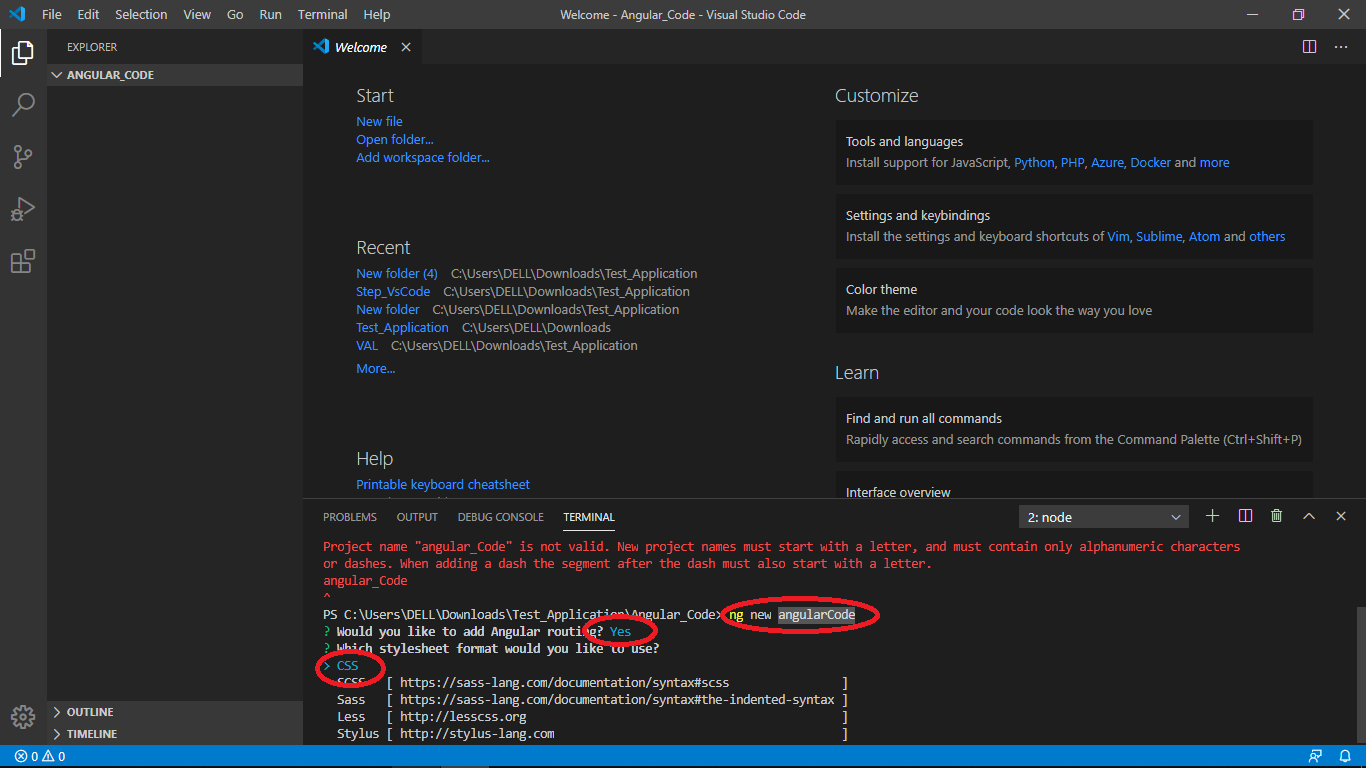
Creating Application in the folder. type ng new angularCode . then Would you like to add Angular routing? Y or n , Which stylesheet format would you like to use? We selected CSS .
Step -5
cd into your angularCode directory . type cd angularCode

Step -6
Run Angular application . type ng serve in window .

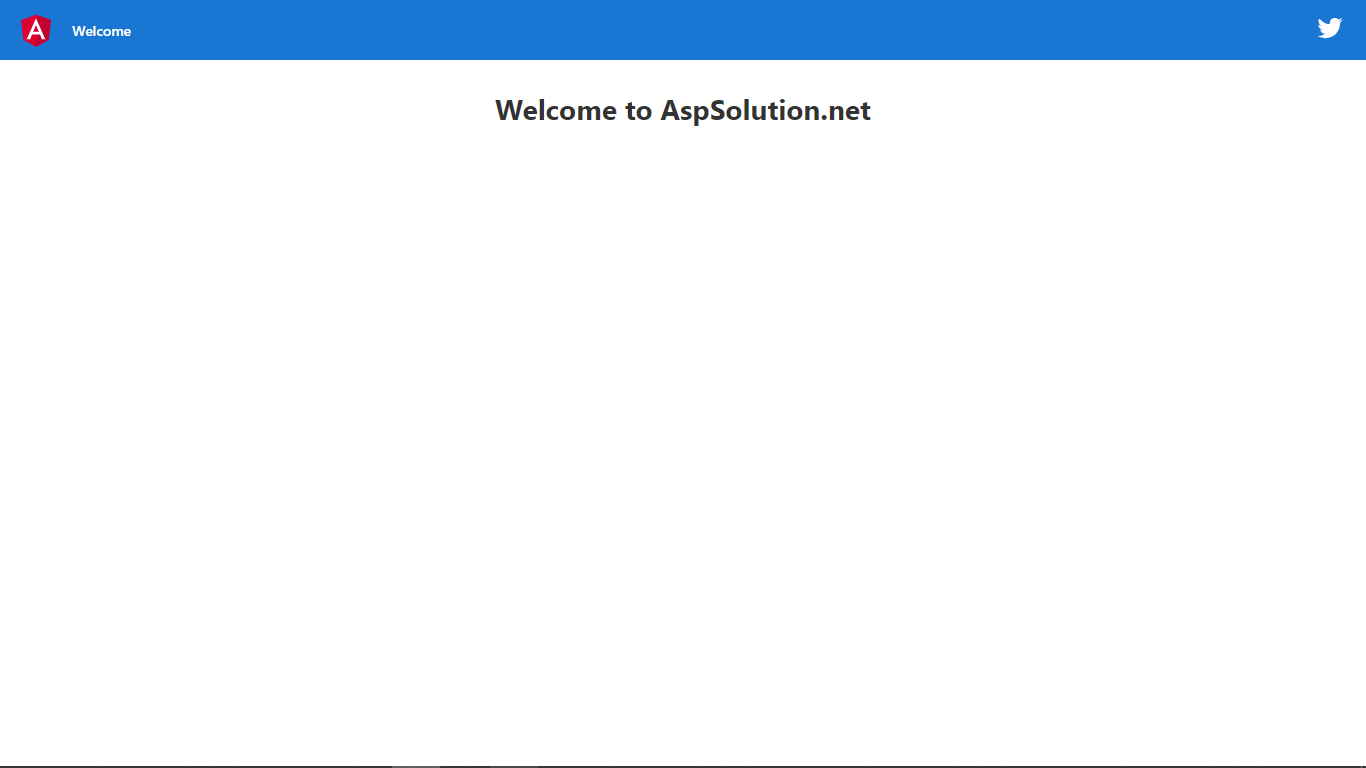
Output
Note: All contents are copyright of their authors.